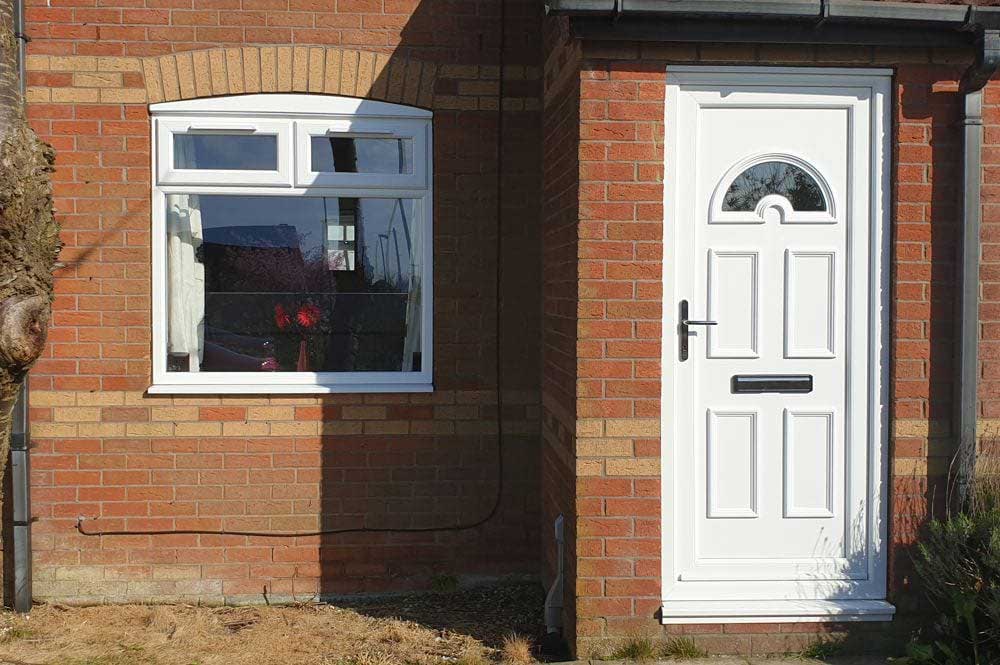
Window & Door Aftercare | Double Glazing Bradford, Yorkshire

Aftercare

Below you'll find Coral's aftercare policy. Use the index to find the section relevant to you and your home and take the time to read through these in detail. Should you require any further information beyond what is listed below, please contact us today.

Customer Service

Mon-Fri: 9am – 6pm
Sat & Sun: 10am – 4pm

Please fill in the form below and a friendly member of our team will get back to you as soon as possible.

We may have reduced resource due to COVID-19 Government guidelines, therefore we thank you for your patience and understanding during this time

* indicates required fields

Maintenance

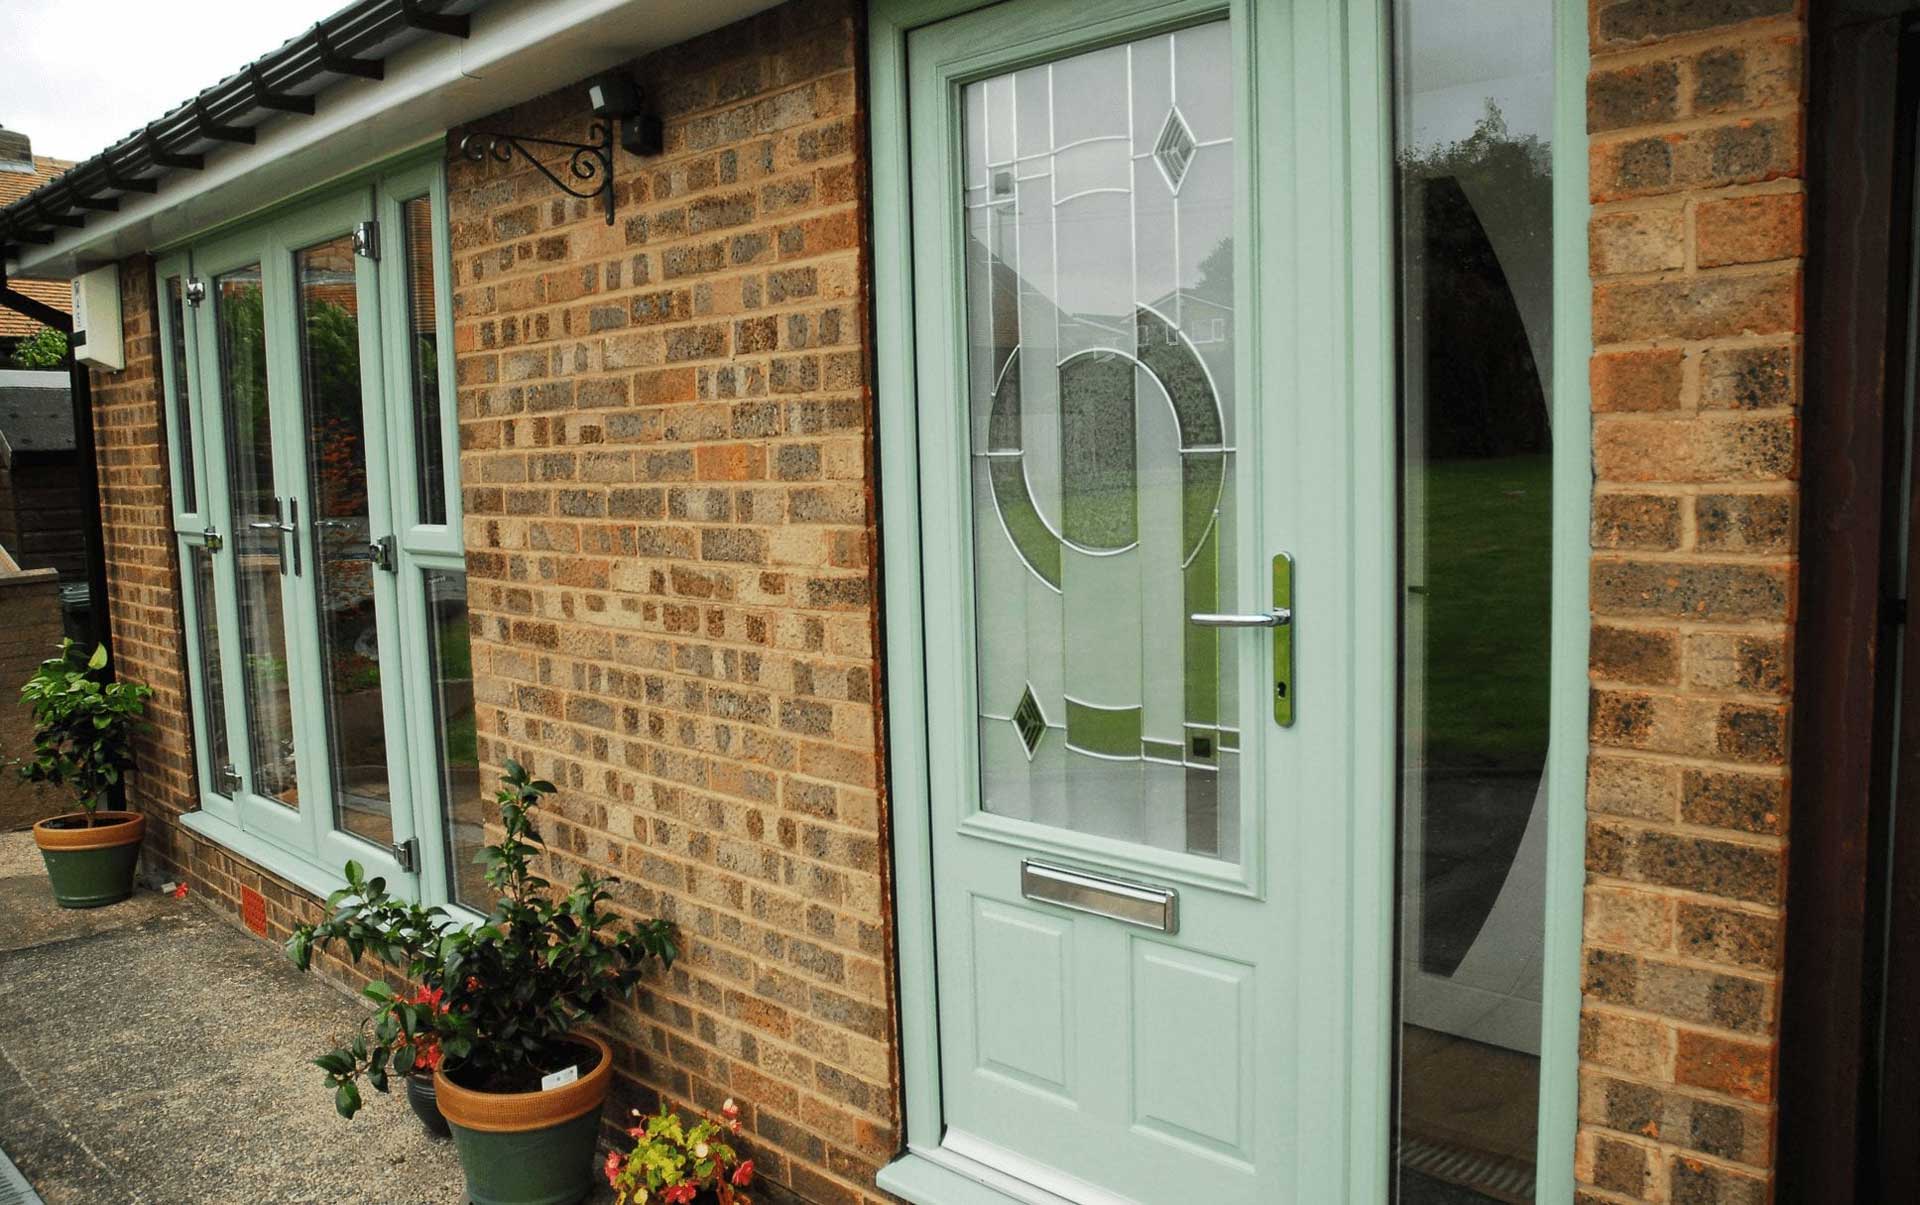
Float glass, used in most double-glazed units, is easily scratched and it is therefore recommended that hand jewellery is removed prior to cleaning.
Any proprietary household glass cleaner may be used with a soft cloth and it is recommended that heavy external grime be removed initially with a solution of soap and water.
Laminated glass or glass containing Georgian bars is cleaned in exactly the same manner.

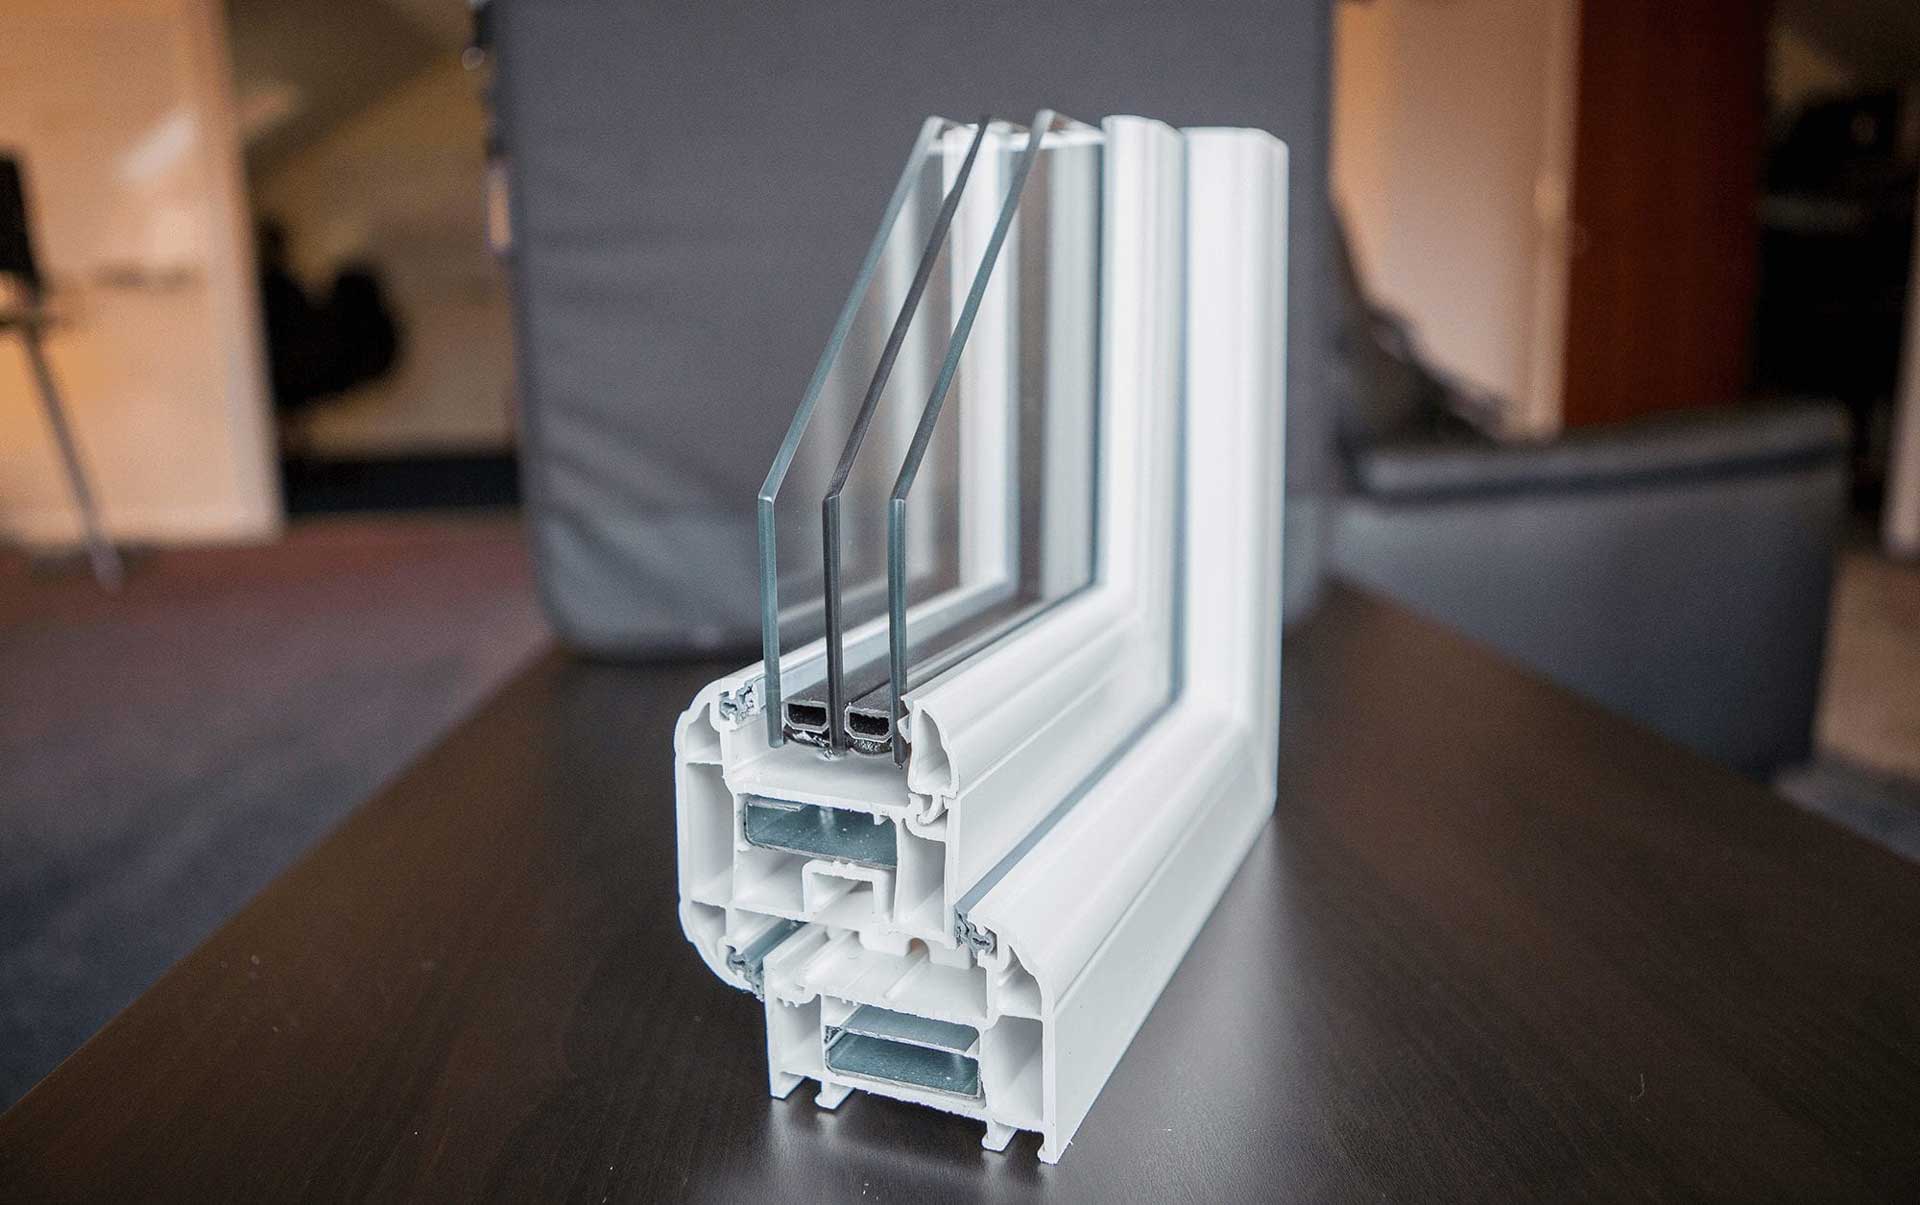
In this type of double glazing lead strips are bonded to the inside and outside of the unit in diamond or square patterns.
Note that external lead will oxidise. This is a natural phenomenon and cannot be avoided.
Take care when cleaning leaded units as excessive pressure might dislodge the lead from the glass surface.
Scratched Glass
If scratches occur, most can be removed with jewellers’ rouge, or an equivalent rubbing compound.

NOTE: Avoid all solvent-based or abrasive cleaners.
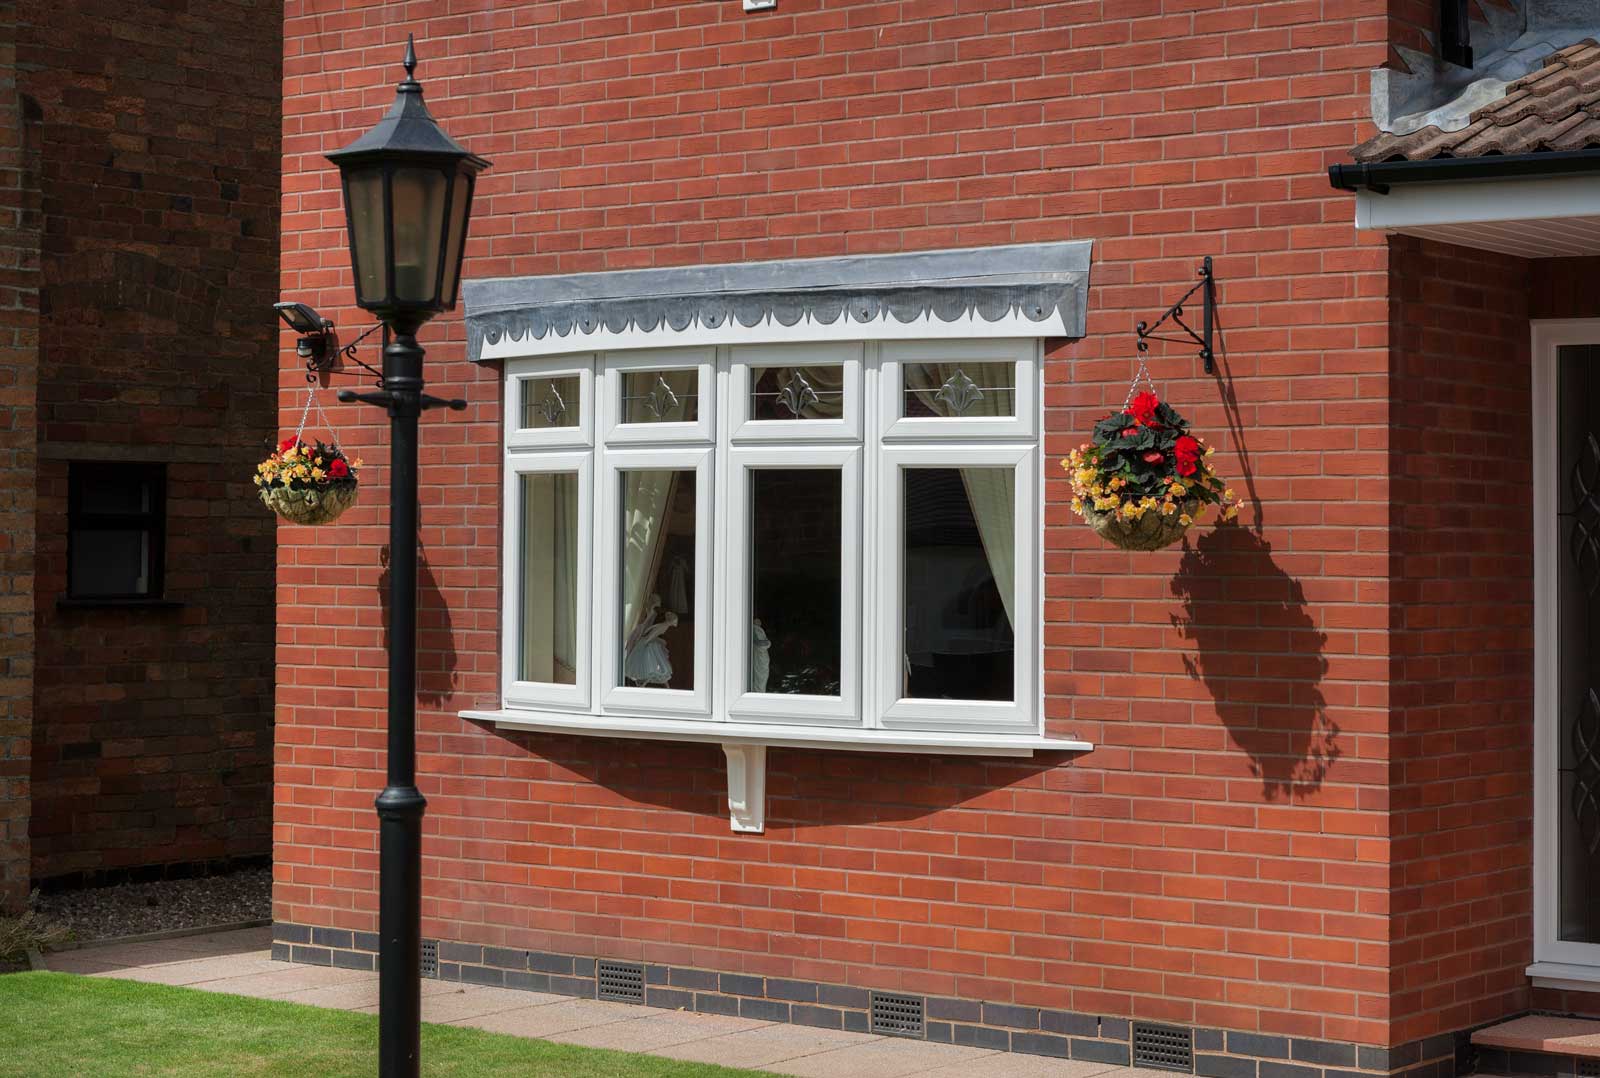
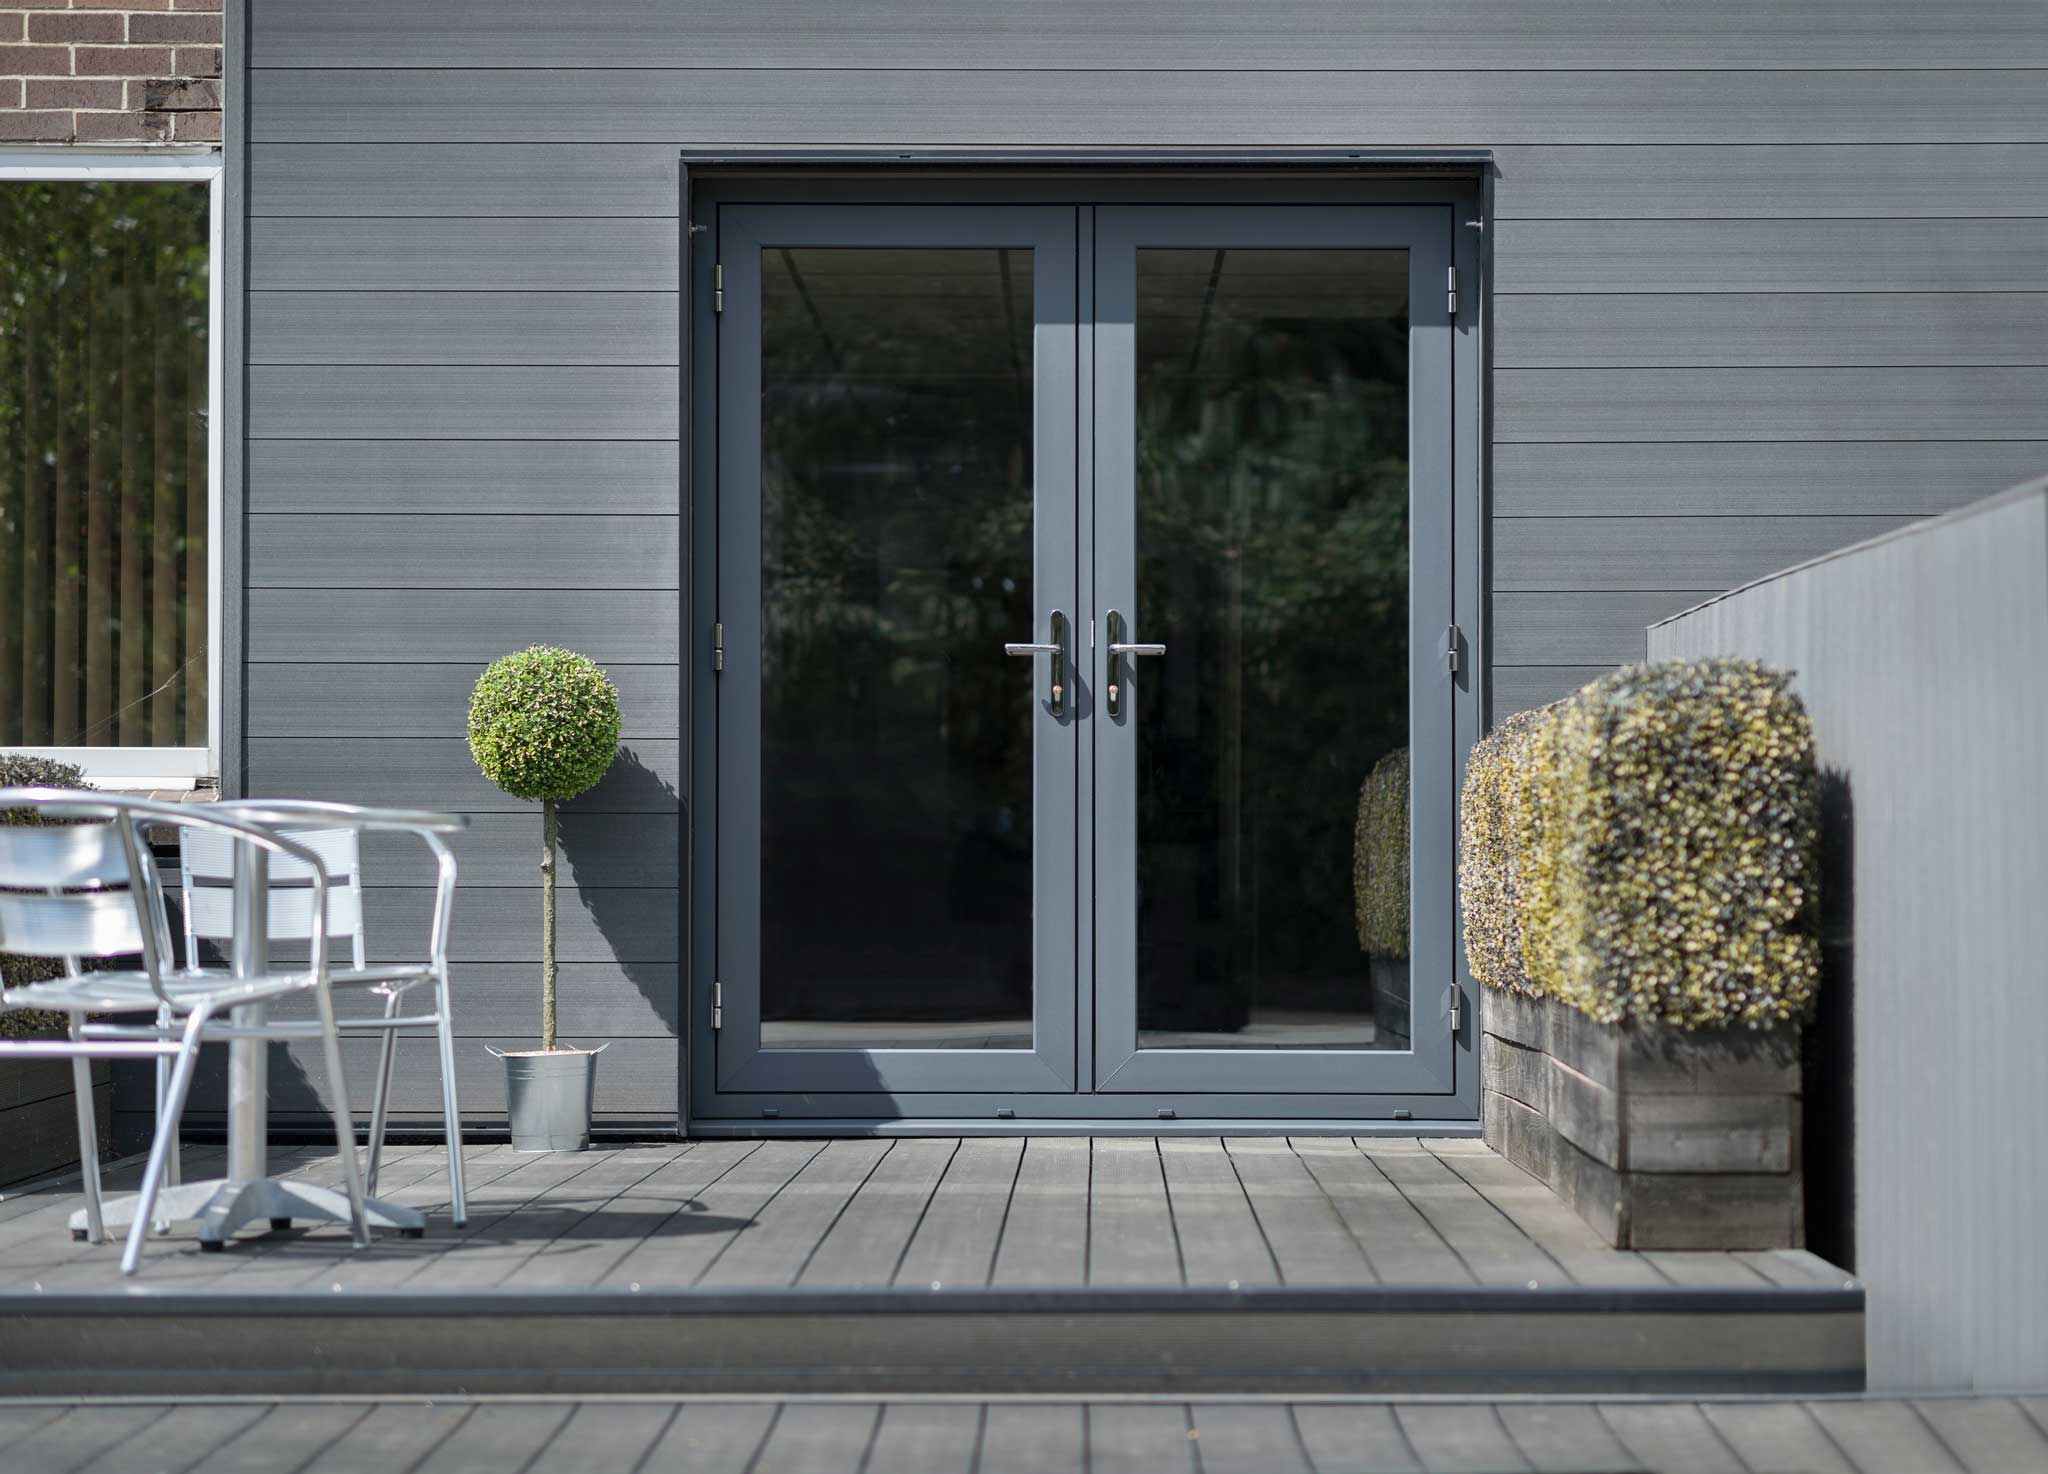
Wash frames with a soap and water solution every four months to remove any grime and atmospheric deposits.
If required, clean with a non-abrasive proprietary cleaner, suitable for plastics, using a soft cloth.
If necessary, use a stronger, non-abrasive proprietary cleaner, such as cream, to remove any stubborn blemishes.
Take care not to disturb sealants.

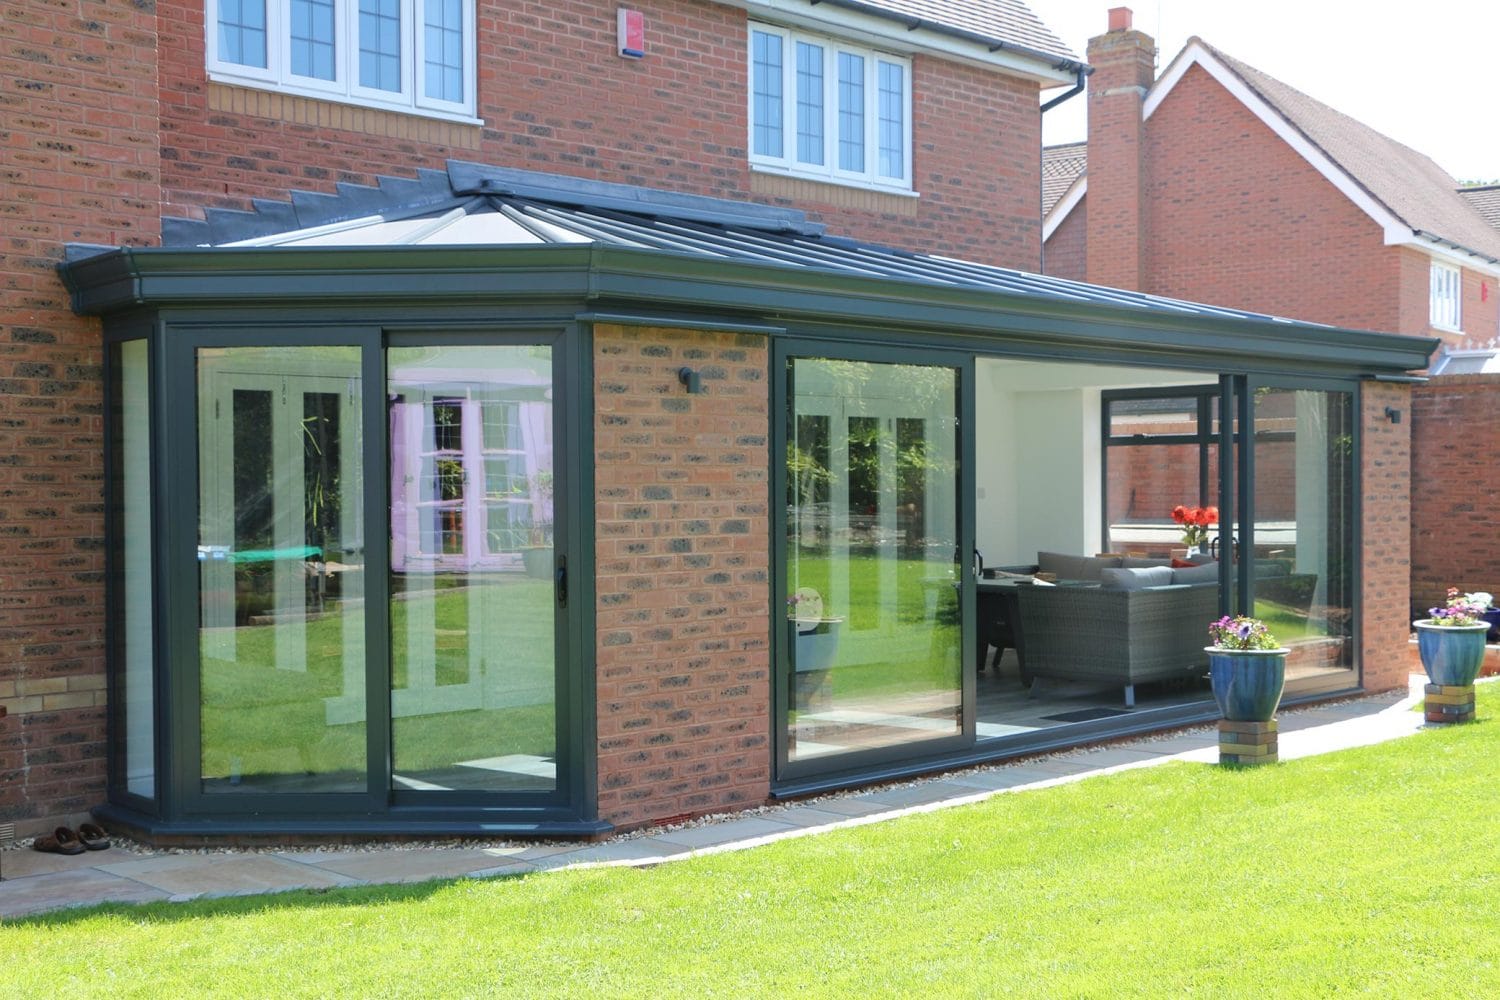
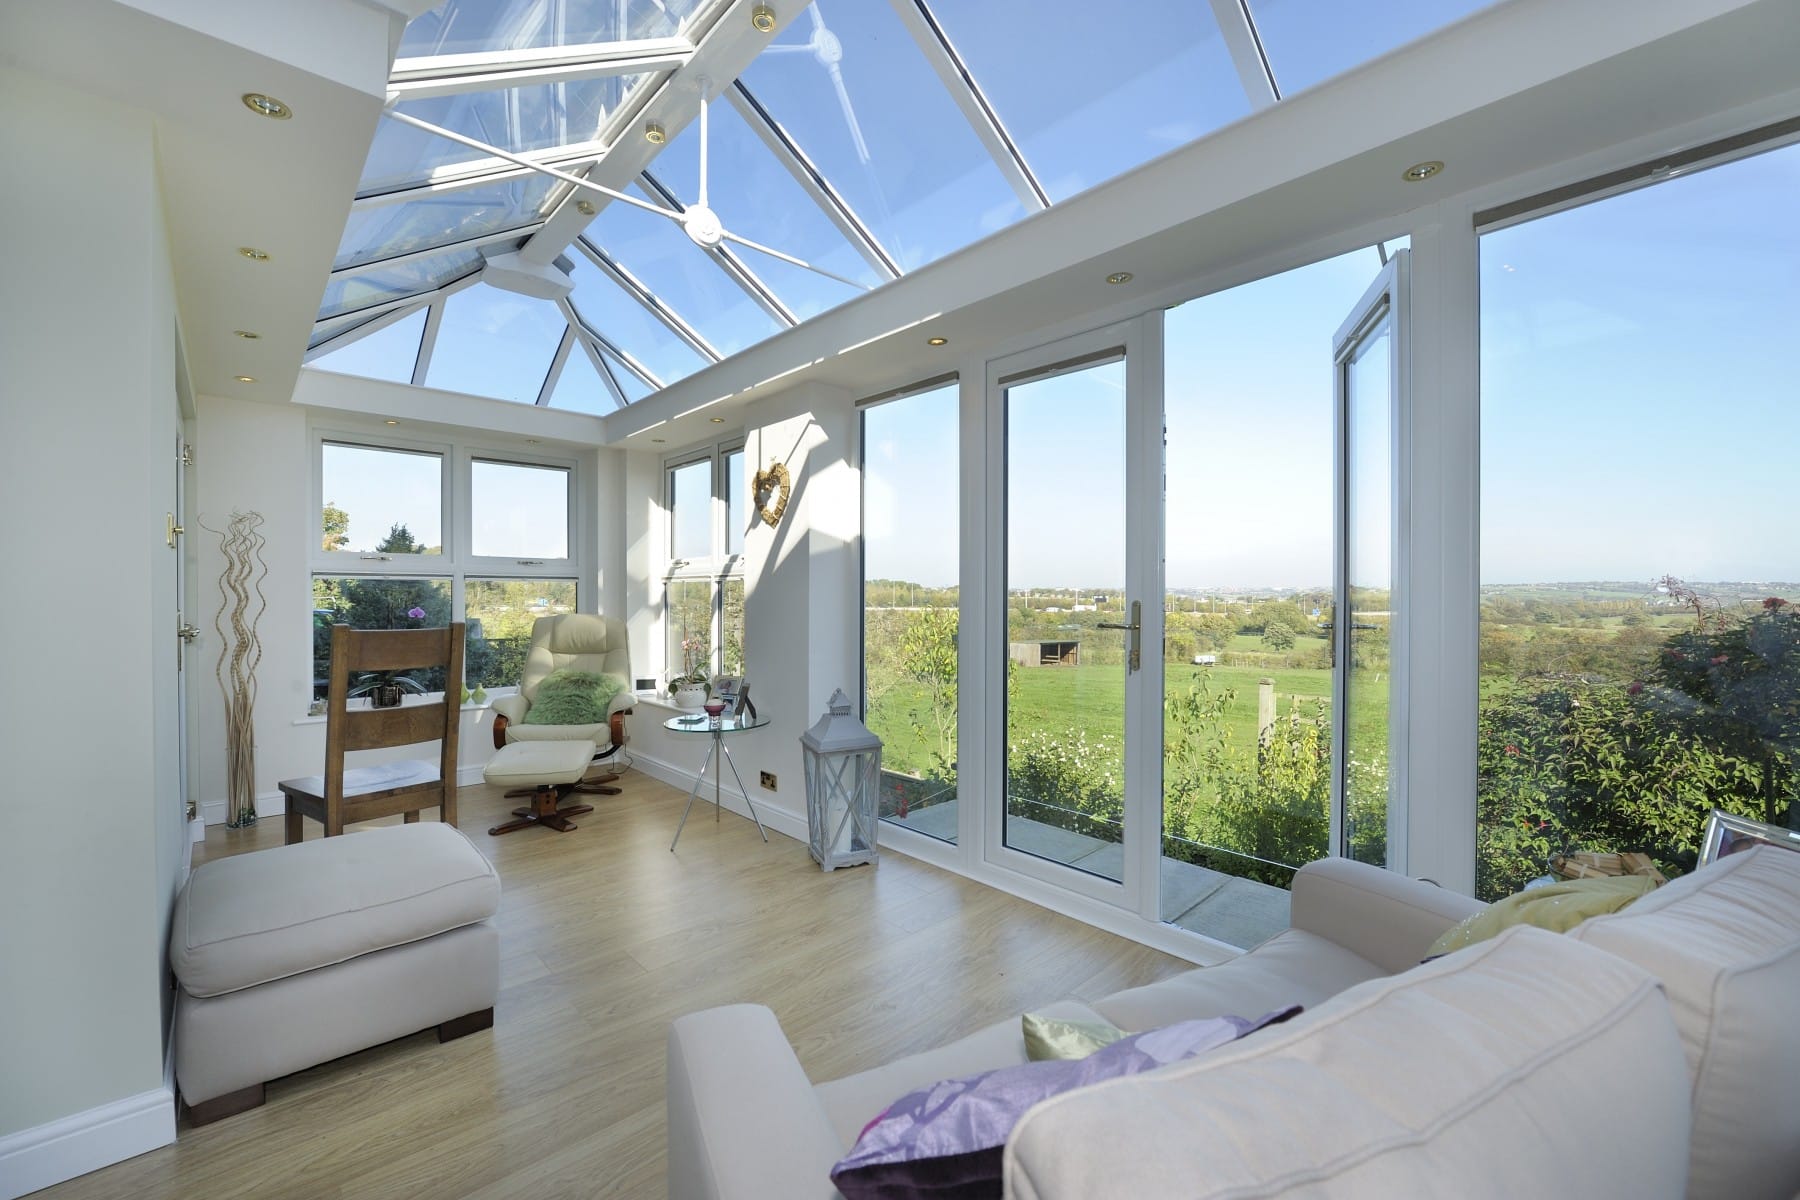
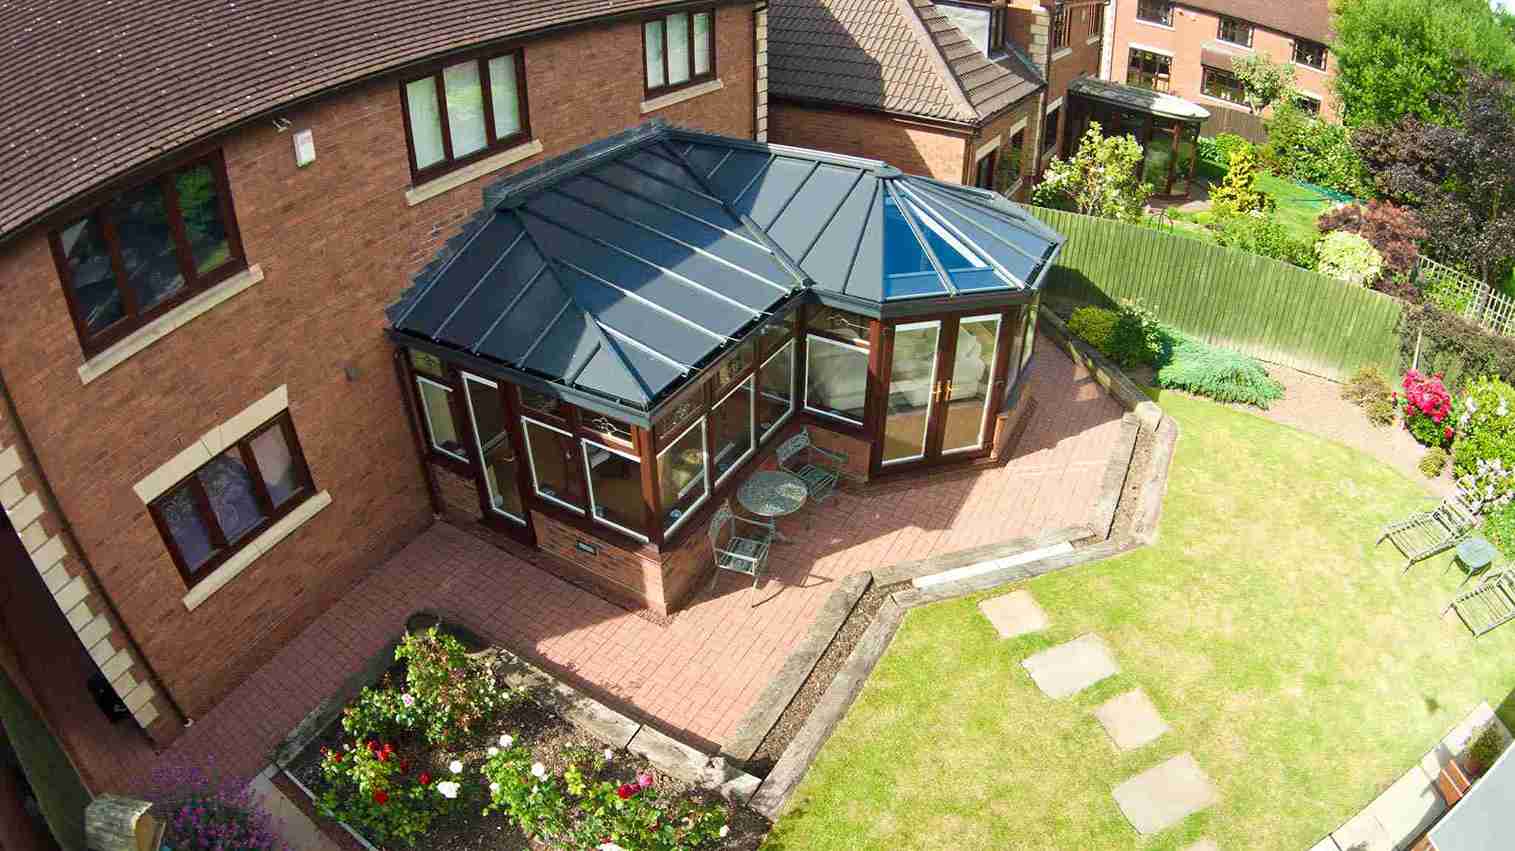
Polycarbonate roofing panels fitted to these structures must be cleaned in a similar manner to PVCu frames.
Clear gutters of leaves and debris as required to avoid overflow of rainwater and ensure unobstructed drainage.
ie box gutters
Note: Avoid all solvent-based or abrasive cleaners.
Wash roof panels with a soap and water solution every four months to remove grime and atmospheric deposits.
Do not walk on conservatory roofs.

Stainless steel hardware and glazing trims

Stainless steel is guaranteed against corrosion for ten (10) years provided appropriate care and maintenance has been carried out. “Tea Staining” on stainless steel components is common and can occur on the surface of all stainless steels when contaminants are left un-cleaned. Lack of cleaning and maintenance is not covered under guarantee.

Drainage

Your PVCu windows are designed with an in-built drainage system comprising of slots within the thresholds that allow any water ingress to flow to the outside. To ensure an efficient system these slots must remain unblocked.
Periodically remove dirt, clear drain holes and check drainage operation by flushing through with water.

Gaskets

During cleaning etc ensure that the gaskets fitted to your frames do not become dislodged from their grooves. Should this occur, slide back into position immediately to avoid damage when the unit is closed.
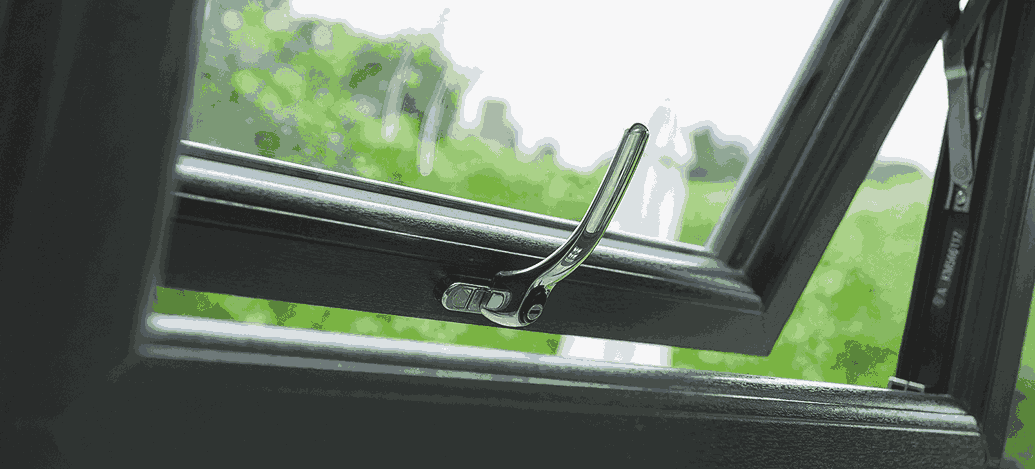
Lubrication

For lubrication of hardware etc use light machine oil lubricant (EG Silicone grease spray) every 6 months and not a freeing oil for moving parts.

Mastic Seal

Please note that some discolouration of the mastic seal is a natural occurrence and cannot be avoided.

When installed, brass/chrome is fully protected with lacquer. In time and through normal wear and tear this lacquer may peel or become tarnished.
Note that your installer cannot accept responsibility for this natural occurrence.
To refurbish your brass work, carry out the following procedure:
You are advised to protect the PVCu surfaces from chemicals etc by masking off an area around each piece of brass work.
Remove old lacquer with nail polish remover or paint stripper.
Clean and polish with suitable proprietary brass polish.
Carefully re-lacquer with a good quality product.

Condensation

In general climatic conditions water vapour is continually present in the atmosphere.
In the home this natural water content is increased by normal living activities that create steam such as cooking, bathing, washing, boiling a kettle etc plus the basic activity of breathing.
The water vapour remains undetectable while floating in warm air, but upon contact with cold surfaces, windows, mirrors, tiles, etc condensation occurs and the vapour turns to water droplets.
Traditional house construction allows the escape of this water vapour through natural ventilation – open flues of coal fires, air bricks and ill-fitting windows and doors.
The drive to conserve energy and reduce heating costs has led to the sealing of homes, resulting in trapped water vapour and the increased problems of condensation.

Ventilation

Provide natural ventilation wherever possible by:
Opening a window (see security note below).
Fitting a ventilator/extraction unit in the kitchen and bathroom.
Fitting wall vents to provide air flow.
NB: Security should be borne in mind when leaving open an easily accessible window (eg night/vent position).

Heating

Maintain some permanent heat in the house during cold weather. Marginally increase the temperature in areas where condensation is a particular problem.
If possible, fit radiators under windows to maintain the temperature of the inside pane of your double glazing.

Water vapour will easily drift on convection currents far from where it originated.
Keep internal doors to kitchen and bathrooms closed and draught-sealed, when possible, to prevent the excessively moist air in these rooms being transferred to other areas of the house.
Bedroom windows should have a night ventilation facility to provide air movement and, ideally, if bedroom doors are closed, a ventilation grille should be installed in or above the door.
To ensure air flow in the vicinity of windows, curtains should be a minimum of 150mm (6”) away from the window, with suitable gaps to top and bottom to allow circulation.

Security

Your double-glazed windows and doors have been specifically designed to include a variety of security features to protect your home and family against intrusion.
We recommend a number of sensible precautions which should be taken, in order to take full advantage of the security features available with your double glazing.
Never leave a window open when your home is unattended.
For added protection lock all windows in the closed position and remove the keys.
(NB: Except for fire escapes.)

To provide adequate means of escape in the event of any emergency we recommend that keys to all windows are located adjacent to the window, but out of external view.
When leaving the house unattended or at night, ensure door handles are fully lifted and that the keys are turned to throw and lock all dead bolts for security.

Glazing

All double-glazed units are susceptible to a degree of surplus damage during the manufacturing process. Certain imperfections in the glass cannot be avoided, even in the most carefully controlled production environment.
Such blemishes and imperfections are inherent in all double glazing and are acceptable within the highest standards of the industry, and are therefore beyond our control.
We wish to draw your attention to the following extract from an industry accepted standard relating to glass generally.

  1. Transparent glass used in the manufacturing of double-glazed units is identical to that used in traditional single glazing and will therefore have a similar level of quality.
  2. Both panes of the double-glazed unit should be viewed from the room side, standing at a distance of two metres (6.5 feet) in natural daylight and not in direct sunlight. The area to be viewed is the normal vision area with the exception of a 50mm (2”) wide band around the perimeter of the unit.
  3. Flat transparent glass should be deemed acceptable if the following phenomena are neither obtrusive nor bunched:
    1. Totally enclosed seeds
    2. Bubbles or blisters
    3. Hairlines or blobs
    4. Fine scratches not more than 25mm (1”) long
    5. Minute embedded particles
  4. Obtrusiveness of blemishes should be judged by looking through the glass and not at it, and under normal lighting conditions as described in 2. Above.
    (Extract from the Glass & Glazing Federation Standards)

We use only the highest quality float glass available, whether laminated, toughened or annealed.
All of our double-glazed units are produced to conform to the highest manufacturing standards and the most uncompromising quality control and inspection routines.
Patterned Glass
This glass originates in very large sheets and due to spacing repetition the centralisation of any design in a specific window cannot be guaranteed.

Open-Out Window

This window may be opened outwards with its friction hinges holding it in the desired position, within our manufacturing guidelines. Locking is achieved by the mushroom cams of the locking mechanism or shoot bolt – espagnolette – fitted to the opening edge of the window, engaging into the slotted keeps fitted to the outer frame.
These keeps have secondary slots incorporated within them, which, when engaged, provide a “night vent” position. This allows the window to be only slightly open while providing ventilation.
Accessible windows should not be left in the night position when the house is unoccupied.

If fitted, turn key and depress button to unlock the locking handle.
Rotate the handle through 90 degrees to disengage locking mechanism and open by pushing outwards.

To attain optimum performance, the scissor mechanism of the friction hinges will require periodic lubrication. The pivots, sliding shoe and track should be kept free of dirt and debris.

Lubrication

As required.
Oil all pivot points (one drop per pivot is sufficient) and wipe away excess.

Espagnolette locking mechanism.
Lubrication – as required. Keep sliding mechanism free of dirt and lubricate each slot with light machine oil.

Handles

Espagnolette Locking.
Clean and lightly oil moving parts.

Tilt Before Turn Window

These versatile inward opening windows are capable of two modes of operation:

  • Tilt mode for ventilation
  • Turn mode for cleaning and emergency exits

The term “tilt before turn” refers to the sequence of operation of the window, which is designed for safety, to initially select tilt mode, followed by the turn mode.
Locking is achieve by a series of cams or espagnolettes located on a sliding mechanism around the edge of the window. When shut with the handle in the closed position, the cams engage into the keeps fitted around the outer frame, providing a secure locking system and excellent weather sealing.

Operating Instructions

To operate the window the handle is placed in one of three positions: closed, tilt or turn.
Note: The window must always be fully shut before changing the handle position.
The operation sequence commences with the window in the closed position (handle vertically downwards).
If fitted, turn key to unlock.
To select tilt, rotate the handle through 90 degrees from vertically downwards to horizontal and pull the window inwards. The bottom remains hinged to the frame, while the top tilts inwards to allow ventilation.
To select turn from the tilt mode, close the window and rotate the handle from its horizontal position to vertically upwards and pull the window inwards. The side remains hinged to the frame, while the window may be opened inwards.
To select turn from the close position rotate the handle through 180 degrees from vertically downwards to vertically upwards and pull the window inwards.

Keep sliding mechanism free of dirt and lubricate each slot with light machine oil as required.

Handles

Espagnolette Locking.
Clean and lightly oil moving parts.

Residential Doors

Doors are fitted with lever/lever handles allowing external opening by handle movement.
The Hook Lock locking system comprises of claw locks, a latch lock and centre deadbolt, which engage into centre and deadbolt keeps fitted to the frame jamb.
The top and bottom hook locks are engaged by lifting the handle.
When the doors are fully opened with the restrictors disconnected, care should be taken as the hinge side claws will be exposed.

  1. Close the door – latch lock engages.
  2. Lift the handle to engage the top and bottom hook locks and centre deadbolt.
  3. Insert key and turn to fully lock.

If key will not turn, lift handle to maximum position and then turn key.

  1. Insert key and turn to unlock.
  2. Depress handle to disengage top and bottom hook locks and centre deadbolt.
  3. With lever handle pressed down door will open.

Lubrication – as required.

With the door open, lubricate the deadbolt, hook locks and latch lock with light machine oil.

Clean and lightly oil hinge pins. If hinges are external (open-out door) lubricate every six months.

Clean and lightly oil external moving parts.

Do not lubricate (packed with special grease).

Tilt & Slide Doors

This versatile inward opening door can be closed, placed in the tilt mode for ventilation or the slide mode to clear the doorway for access.
Locking is achieved by a series of cams, or espagnolettes, located on a sliding mechanism around the edge of the door. When shut with the handle closed position selected, the cams engage into the keeps fitted around the outer frame, providing a secure locking system and excellent weather sealing.
In addition, the title mode may be selected and locked to provide secure ventilation.
To operate, the handle is placed in one of the three positions: closed, tilt or slide.

Insert key and rotate to unlock. Move handle 90 degrees to horizontal and release. Door will eject from doorway. Slide door on track to clear access.

Insert key and rotate to unlock. Move handle 180 degrees to vertical. Top of door will tilt inwards. Rotate key to lock and remove.

Insert key and rotate to unlock. Press handle down and release. Bottom of door will eject from doorway. Slide door on track to clear for access.
Lubrication – as required.

With door in slide mode, lubricate the moving parts of the bottom runner arms and top stay arms with light machine oil.

Locking mechanism

Lightly oil locking cam slots.

Bottom

Ensure track is permanently clear of dirt and debris.

Handles

Clean and lightly oil external moving parts.

Lock Cylinder

If fitted, do not lubricate (packed with special grease).

In-Line Slider

This heavy duty sliding door may be opened as required to provide ventilation or access.
Multi-point locking into slotted keeps.

Sliding door to fully closed position.
Lift lever behind handle (multi-point lock will engage to lock the door).
Turn key to fully secure locking mechanism.

Insert the key in cylinder and rotate to unlock the mechanism. Depress lever behind handle (multi-point lock will disengage). Slide door open.
Lubrication – as required.
Oil the locking cams of the mechanism.

Do not lubricate (packed with special grease).

Keep track permanently free of dirt and obstruction.

Notes

If you need to speak to a member of our team immediately regarding your aftercare, please call us on 01274 698 000.

Although our products are constructed using machinery, some detailed aspects of the process are hand-finished, therefore there may be slight tolerances on certain details.

In the unlikely event there is anything you are not completely satisfied with, please contact us as soon as you can in order that we can rectify any problems as soon as possible.

Our Customer Complaint Policy & Process (for products & services) can be viewed here. If you have a complaint that relates specifically to a finance agreement our Customer Finance Agreement Complaint Handling Policy can be viewed here.

Request A Free Quote
Book a Free Appointment
Request a Callback
Free
Quote
Book Free
Appointment
Request
Callback